
A luxury vinyl floor can look high-end fast, but bad prep shows up even faster. Gaps at the walls, uneven seams, soft spots underfoot, and boards that shift after a few weeks usually come down to one thing: the install. If you want to know how to install luxury vinyl flooring and get a clean, durable result, the job starts before the first plank clicks together.
Before You Install Luxury Vinyl Flooring
Luxury vinyl is popular for a reason. It gives you the look of hardwood or tile, handles busy households well, and usually costs less than traditional premium surfaces. That said, not every luxury vinyl product installs the same way. Some are click-lock floating floors, some are glue-down, and some are loose lay. Always start with the manufacturer instructions for your specific product, because expansion gaps, underlayment rules, and approved subfloors can vary.
For most homeowners and project buyers, click-lock LVP is the easiest path. It is forgiving, DIY-friendly, and ideal when you want a premium look without paying full showroom pricing or a heavy labor bill. Glue-down can be a strong option in commercial spaces, rentals, or rooms that see rolling loads, but it demands more precision and more subfloor perfection.
Before installation, bring the flooring into the room and let it acclimate if the product instructions call for it. Some newer vinyl floors are less sensitive than old materials, but temperature still matters. If the cartons come off a cold truck and go straight onto a warm subfloor, movement can happen.
Tools and Materials You’ll Need
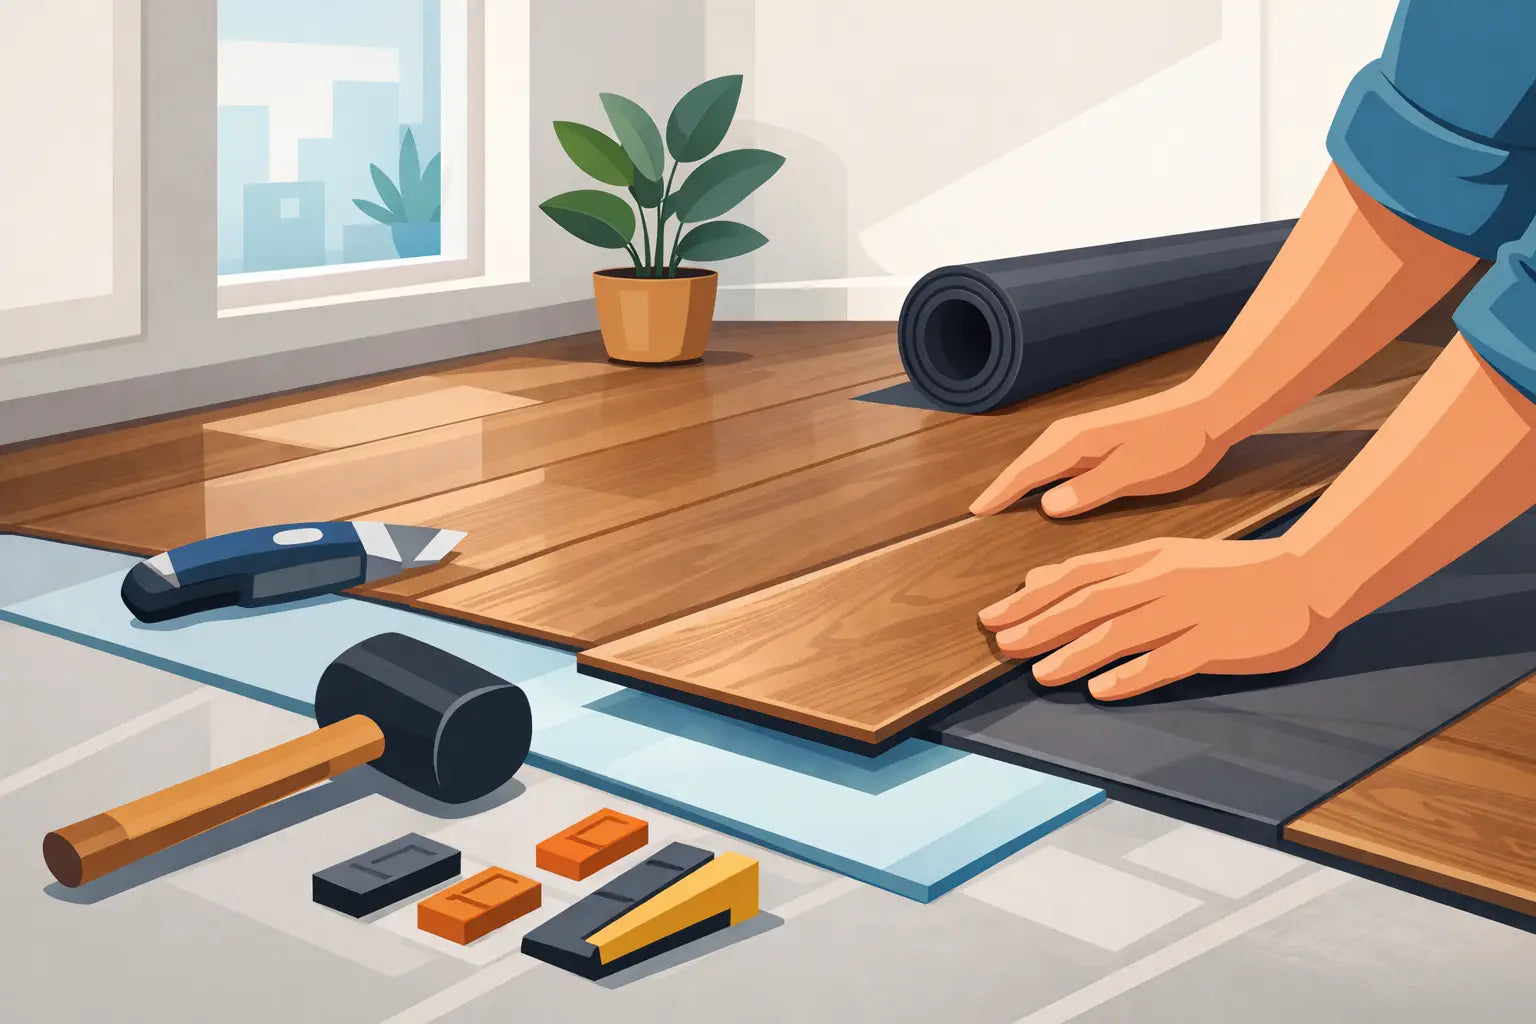
You do not need a full contractor trailer to handle this job, but you do need the basics. Most installs go smoother with a tape measure, utility knife, straight edge, spacers, tapping block, pull bar, rubber mallet, pencil, and a jigsaw or oscillating tool for detailed cuts. You will also want a level or long straightedge to check the subfloor, plus patching compound or floor leveler if needed.
If you are installing over concrete, a moisture test is smart even when the floor looks dry. Moisture is one of those hidden problems that can turn a bargain install into a costly redo.
Subfloor Prep Makes or Breaks the Floor
This is the part people rush, and it is the part that decides whether the floor feels solid or cheap. Luxury vinyl can hide a lot visually, but it will not hide a bad subfloor underfoot.
The surface needs to be clean, dry, and flat. Not sort of flat - flat enough to meet the product specs. Small dips, high spots, crumbling concrete, and old adhesive residue can all create trouble. A floating floor especially needs consistent support across the room. If one section flexes, the locking system takes the stress.
Wood subfloors should be screwed down if there is movement or squeaking. Concrete may need patching or grinding. Existing floors can sometimes stay in place, but it depends on what is already there. Sheet vinyl in good condition may be acceptable under some products. Thick cushion-backed flooring, loose tile, or damaged surfaces usually are not.
If you are trying to save money, this is not the place to cut corners. Premium first-quality vinyl flooring still needs a proper base to perform like it should.
How to Install Luxury Vinyl Flooring Step by Step
Once the room is prepped, start with a layout plan. Measure the width of the room and figure out how wide the first and last rows will be. If your last row ends up extremely narrow, shift the starting row so both sides look balanced. That one decision makes the finished floor look more intentional and professional.
Remove baseboards if possible rather than trying to hide every edge with quarter round. It takes a little more effort up front, but the final result is cleaner. Door casings should be undercut so the planks slide underneath rather than being awkwardly trimmed around.
Start along the longest, straightest wall. Place spacers at the perimeter to maintain the required expansion gap. Even when luxury vinyl is stable, it still needs room at the edges.
Install the first row carefully because every row after that depends on it. If the wall is not perfectly straight, scribe the first row to match it. Keep the tongue side or groove side oriented according to the manufacturer instructions. Lock the planks together fully and check that the row stays straight as you go.
For staggered end joints, avoid obvious repeating patterns. A random stagger usually looks better and more like real wood. Many products also require a minimum stagger distance, so keep that in mind when using offcuts to start the next row.
Cutting luxury vinyl is often simple. Many planks can be scored with a utility knife and snapped. For notches around vents, cabinets, or door jambs, a jigsaw or oscillating tool gives cleaner control. Take your time here. Sloppy cuts around fixed objects are hard to hide.
As you move across the room, tap joints gently into place with the proper tools. Do not force boards that are misaligned. Pull them apart, check for debris in the locking edge, and reconnect them correctly. Forcing the fit can damage the locking system and create weak seams.
The last row usually takes the most patience. Measure the distance from the installed row to the wall in several places, subtract the expansion gap, and rip the planks to width. Use a pull bar to tighten the final joints if your hands cannot get enough leverage.
Common Mistakes That Cost You Time and Money
The most expensive vinyl floor mistake is assuming the product will solve installation problems on its own. It will not. A premium-looking plank still fails if the subfloor is uneven or the room is measured poorly.
Another common issue is skipping the layout check. If the planks run into a tiny sliver row at the end of the room, the whole floor can look off, even if the joints are tight. This is especially noticeable in open floor plans.
Mixing planks from different boxes as you install is also smart. Color and pattern variation is part of the design, and blending cartons helps avoid visible clustering.
Watch transitions too. If luxury vinyl meets tile, carpet, or hardwood in nearby rooms, check the height difference before installation starts. The right transition piece keeps the job looking finished instead of improvised.
Rooms Where It Depends
Not every room should be approached the same way. Bathrooms, kitchens, basements, and laundry rooms are all popular places for luxury vinyl, but each one has its own demands.
In bathrooms, careful sealing around toilets, tubs, and vanities matters. In basements, moisture testing matters more. In kitchens, think about appliance clearance before raising the floor height. If a dishwasher cannot slide out after the floor goes in, that bargain upgrade gets inconvenient fast.
Large rooms may also require extra planning. Some products have maximum run lengths before a transition is needed. Open-concept spaces look great with continuous flooring, but only if the product is rated for that span.
How to Finish the Job Cleanly
After the flooring is down, remove the spacers and reinstall the baseboards or install trim that covers the expansion gap without pinning the floor in place. That detail matters. A floating floor needs to float.
Install transition strips where needed and check every edge for a secure fit. Clean the floor with a manufacturer-approved cleaner, not harsh chemicals or soaking wet mops. New floors do not need aggressive treatment.
Give the room a final walk-through. Look for lifted corners, open joints, trim gaps, and rough cuts around vents or casings. Small corrections now are easier than callbacks later.
Should You DIY or Hire It Out?
If you have a straightforward room, decent tools, and patience, learning how to install luxury vinyl flooring can absolutely save money. That is part of what makes LVP such a strong value buy. You can get the premium look of wood with lower material and labor costs, especially if you choose a quality first-quality product instead of settling for builder-grade stock.
But there is a line between a smart DIY and a false economy. If your subfloor needs major leveling, the room has a lot of angles, or you are installing across a large open area, professional installation may protect your investment. The flooring itself might be priced aggressively, but a bad install can erase those savings quickly.
When buyers compare options, the smartest move is not just finding the cheapest box. It is choosing a quality product that installs well, lasts, and looks right in the space. That is where expert guidance matters, especially when you are balancing style, durability, and budget.
A good luxury vinyl floor should feel like a smart buy every time you walk on it - not a compromise you notice more each week.