
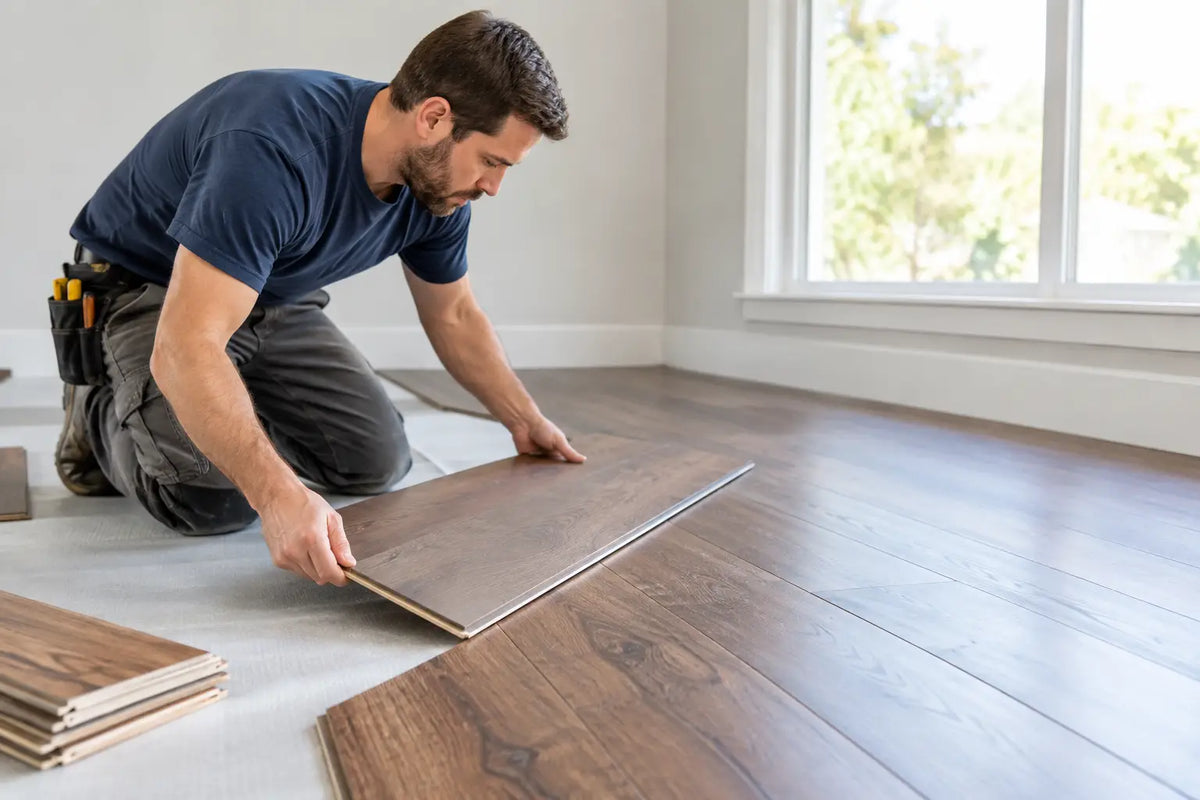
Hardwood can make an ordinary room feel finished for decades, but the installation is only as good as the preparation underneath it. Knowing how to install hardwood flooring means more than lining up boards and driving fasteners. It means choosing the right product for the space, preparing a flat and dry subfloor, planning the layout, and allowing for natural wood movement.
For homeowners taking on a renovation, careful planning can protect both the look and value of a first-quality hardwood purchase. For contractors, flippers, and rental-property owners, it can also prevent expensive callbacks caused by gaps, movement, squeaks, or uneven rows.
Start With the Right Hardwood for the Room
Before installation begins, confirm that the flooring construction suits the application. Solid hardwood is a classic choice for living areas, bedrooms, dining rooms, and other above-grade spaces with stable conditions. Engineered hardwood has a real hardwood surface over a layered core and may offer more installation flexibility, depending on the product and manufacturer instructions.
The installation method is not interchangeable from one hardwood product to another. Some floors are designed for nail-down installation, while others may be approved for glue-down or floating methods. Board width, plank length, subfloor material, and the room's location all affect the correct choice.
This is where buying with product information matters. Factory-closeout, overstock, discontinued, and special-buy flooring can deliver exceptional value without sacrificing quality when it is first-quality inventory. Because closeout inventory changes, confirm the product specifications and purchase enough material for the complete project before work starts.
Order flooring based on the room's square footage plus an allowance for cuts, layout adjustments, and any boards set aside for appearance. A straightforward room often needs less extra material than a space with closets, angled walls, islands, or several doorways. Keeping a few unopened cartons can also be useful for future repairs if that particular style is no longer available.
Prepare the Space Before You Open a Carton
Hardwood installation begins after other major wet work is complete. Paint, drywall, cabinetry, and masonry-related work can introduce moisture or damage a new floor. The home should be enclosed, conditioned, and operating at normal living conditions before flooring is delivered.
Acclimation is not simply leaving boxes in a room for a set number of days. Follow the flooring manufacturer's instructions for the specific product, then check that the room and flooring are at appropriate moisture conditions. Wood responds to changes in humidity, so skipping this step can lead to excessive seasonal gaps, cupping, or board movement.
Remove existing flooring, baseboards when practical, and debris. Then inspect the subfloor. It must be clean, dry, sound, and flat within the flooring manufacturer's stated tolerance. A floor can look level to the eye and still have enough high or low spots to create rocking boards, open joints, or noisy areas.
Address subfloor issues before the hardwood arrives in the work area. Secure loose subfloor panels, remove protruding fasteners, and correct uneven areas with materials appropriate to the subfloor and flooring system. Do not assume an underlayment will fix major flatness problems. Underlayment serves specific purposes, but it does not replace proper prep.
Gather the Tools and Materials
The exact tool list depends on the approved installation method, but most nail-down hardwood projects require a tape measure, chalk line, flooring nailer or stapler, mallet, pull bar, tapping block, spacers, saws, safety gear, and manufacturer-approved fasteners. You may also need a moisture barrier or underlayment if the product instructions call for one.
Read the installation instructions before purchasing accessories. The wrong fastener length, adhesive, vapor retarder, or underlayment can affect both performance and manufacturer coverage. If anything in the instructions conflicts with a general installation tip, follow the product instructions.
Plan the Layout Before Installing Hardwood Flooring
The first row controls every row that follows. Begin by deciding which wall is the straightest and most visible. In many rooms, boards run parallel to the longest wall or with the incoming natural light, but there is no universal rule. The best direction depends on the room shape, transitions, structural considerations, and visual goals.
Measure the room width and calculate the width of the final row before setting the first board. If the last row will be an awkwardly narrow strip, adjust the first row so the first and last rows appear more balanced. Snap a reference line rather than trusting the wall to be perfectly straight.
Open several cartons and blend boards as you work. Hardwood is supposed to show variation in grain, tone, and character. Mixing cartons helps distribute those natural differences across the room instead of concentrating similar boards in one area. Set aside boards with distinctive grain or color for places where they will enhance the overall layout.
Leave the required expansion space around the perimeter, at fixed objects, and at transitions. Hardwood expands and contracts as indoor conditions change. That perimeter space is normally concealed by baseboard and shoe molding, so it should never be filled with boards or rigid material.
Install the Boards With Consistent Spacing
Dry-fit enough of the first row to confirm the layout, then install it according to the approved method. With a nail-down floor, the first rows often require face fastening because the flooring nailer needs room to operate. Those fasteners should be placed carefully so they can be concealed later by trim where possible.
As you move across the room, engage each tongue-and-groove joint fully without forcing boards into place. Use a tapping block designed for flooring rather than striking the board edge directly. Damaged tongues, chipped edges, and compressed joints can cause visible gaps or make later rows difficult to install.
Stagger end joints according to the manufacturer requirements. Avoid repeating a predictable pattern or allowing end joints in neighboring rows to line up. Short boards should be distributed thoughtfully, not clustered at one end of the room. The goal is a floor that looks naturally varied while maintaining proper structural engagement.
Check your progress every few rows. Measure back to your reference line and look down the joints for drifting. Small alignment errors are far easier to correct early than after half the room is installed. Also inspect boards as you go. Natural color and grain variation are expected, but damaged material should not be installed simply to avoid waste.
Door jambs often need to be undercut so the flooring can slide beneath them while maintaining the required expansion space. Plan transitions at doorways, adjoining rooms, and changes in flooring type before reaching them. A clean transition is both a visual detail and an allowance for movement.
Finish the Final Rows Carefully
The last rows usually require more measuring, ripping, and hand fastening. Measure each board rather than assuming the wall runs straight. Maintain the expansion gap even if the final row needs to be narrower than expected.
Once the field of flooring is complete, reinstall or install baseboards and shoe molding without fastening trim through the hardwood itself. Add the appropriate transition pieces where the flooring meets other surfaces. Remove spacers, clean the floor according to product guidance, and protect it from heavy traffic while the project is being completed.
Avoid the Mistakes That Cost the Most
The most expensive hardwood installation mistakes happen before the first board is installed. Installing over a damp or uneven subfloor, ignoring product instructions, failing to plan the final row, or eliminating expansion gaps can compromise an otherwise beautiful floor.
Another common issue is treating every hardwood product the same. Solid and engineered floors may have different site requirements and approved installation methods. A knowledgeable flooring specialist can help you compare construction, board width, finish, room suitability, and available inventory before you commit.
For a whole-home project, a high-traffic renovation, or a layout with stairs and complex transitions, professional installation may be the more efficient choice. DIY can be rewarding in a straightforward room, but the right decision depends on your tools, schedule, subfloor condition, and comfort with precise layout work.
A hardwood floor should look intentional from the first row to the final transition. Take the time to verify the product, prepare the subfloor, and plan the layout before installation day, and the result will better reflect the quality and value of the flooring you chose.