
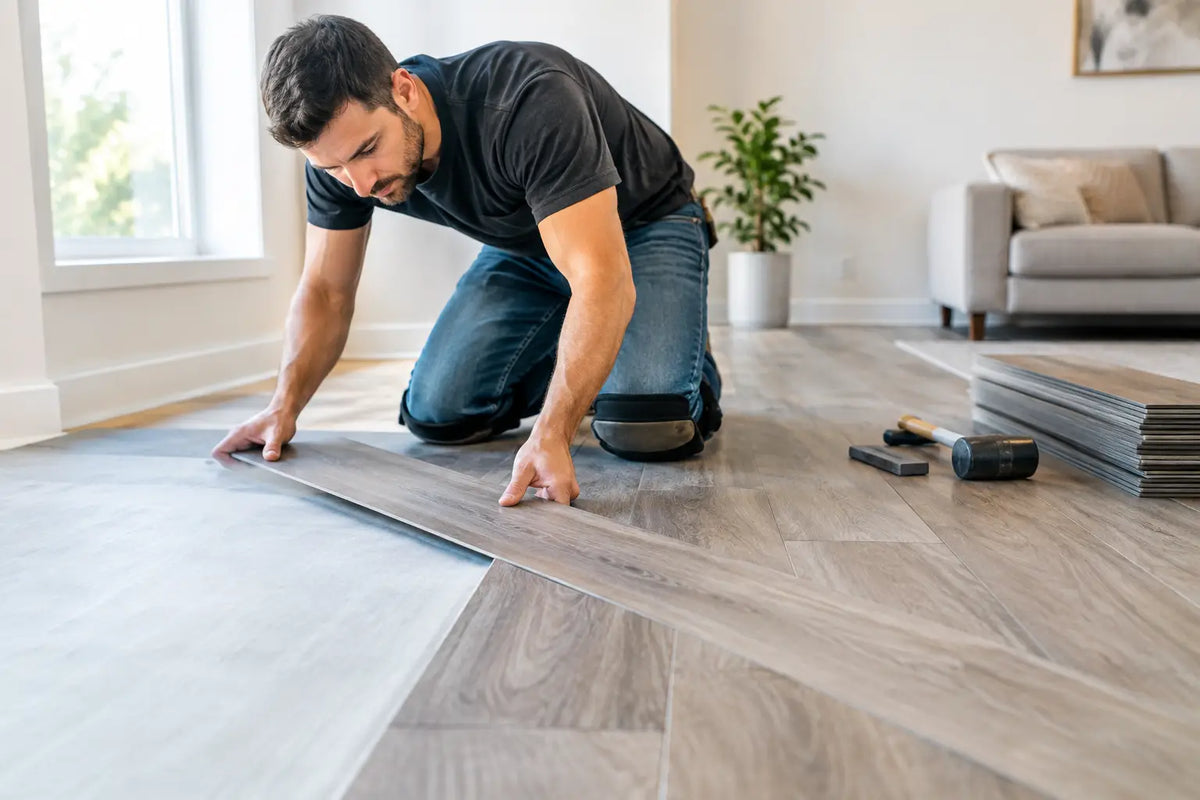
A beautiful LVP floor is usually won or lost before the first plank clicks together. If you are learning how to install LVP, focus less on speed and more on preparation: a clean, flat subfloor, a thoughtful layout, and the correct expansion space will make the finished room look intentional and perform as designed.
Luxury vinyl plank is a practical choice for busy homes, renovations, rentals, and investment properties because it offers convincing wood visuals with everyday UI durability and easier maintenance. Many floating click-lock LVP products are DIY-friendly, but every product has its own installation requirements. Read the carton instructions before opening all of your flooring, especially if your project includes concrete, existing flooring, stairs, large rooms, or areas with changing temperatures.
Before You Install LVP: Confirm the Product and the Room
Start by confirming whether your LVP is a floating click-lock floor or a glue-down product. This article focuses on floating LVP, the format most homeowners install themselves. Glue-down flooring has different adhesive, subfloor, and rolling requirements, so it should always follow the manufacturer’s directions.
Measure the room at its longest and widest points, then multiply those dimensions to find square footage. Add an allowance for cuts and pattern planning. A simple rectangular room generally needs less extra material than a room with closets, angled walls, islands, or multiple doorways. Ordering enough from the same available lot matters because closeout and special-buy flooring inventory can change.
Inspect every carton before installation. The flooring should be first-quality and visually consistent with what you selected, but natural variation in color, grain pattern, and plank printing is part of a realistic finished floor. Open several boxes and pull planks from each one as you work. Mixing cartons prevents noticeable blocks of repeating shades or patterns.
Let the flooring acclimate only as directed by its manufacturer. LVP is more dimensionally stable than solid hardwood, but it still needs appropriate job-site conditions. The room should be enclosed, reasonably climate controlled, and finished with other wet work, such as painting or drywall repairs, complete before installation begins.
Tools and Materials for LVP Installation
Most click-lock LVP projects require a tape measure, pencil, straightedge, utility knife with sharp blades, tapping block, pull bar, rubber mallet, spacers, and safety glasses. A square is useful for marking accurate cuts, while a jigsaw or miter saw can make notches around door jambs, vents, and other detailed areas easier.
You may also need an approved underlayment if the selected product does not include an attached pad. Do not assume more cushion is better. Using an unapproved underlayment can interfere with locking joints or create too much movement underfoot. If you are installing over concrete, follow the product instructions for moisture testing and any required moisture barrier.
Remove furniture, floor vents, and base shoe molding before you begin. In many projects, homeowners leave baseboards in place and remove only the shoe molding, then reinstall it after the floor is down. This approach covers the required perimeter gap without needing to disturb the wall trim.
Prepare the Subfloor First
LVP follows the surface beneath it. It can bridge minor texture, but it will not correct dips, ridges, loose areas, or significant unevenness. Sweep and vacuum thoroughly, then check the floor with a long straightedge. Correct high spots and fill low areas according to the flooring manufacturer’s flatness specification.
A wood subfloor should be dry, stable, clean, and securely fastened. Eliminate squeaks and replace damaged sections before covering them. Concrete must be clean, cured, and dry enough for the product being installed. Old adhesive residue, loose flooring, and protruding fasteners can all telegraph through or prevent a floating floor from sitting correctly.
Existing hard-surface flooring can sometimes remain in place, but only when it is flat, sound, and permitted by the LVP manufacturer. Never install over a surface that is soft, unstable, or likely to trap moisture. This is one area where the product instructions take priority over general advice.
Check Door Clearances and Transitions
Set a plank and any required underlayment beside each door jamb to check clearance. Undercut the jamb carefully so the LVP slides beneath it rather than being tightly notched around it. Plan transitions at doorways and between rooms before installing. Large continuous areas may require expansion breaks or transition moldings depending on the product and layout.
How to Install LVP Plank by Plank
Choose a starting wall that is long, visible, and reasonably straight. In many rooms, planks look best running parallel to the longest wall or toward the strongest source of natural light. There is no universal rule, though. A hallway often looks better with planks running lengthwise, while an open-plan renovation may need a direction that carries consistently from room to room.
Before locking in the first row, dry-lay enough planks to avoid a narrow final row. Measure the room width, account for the required expansion gap on both sides, and estimate the width of the last course. If that final row will be too thin, rip the first row narrower so the room looks balanced.
Place spacers between the first row and the wall to maintain the expansion gap specified by the manufacturer. Do not rely on baseboards to hold that gap later. Begin with the first plank, then connect the end joints across the row. Most clickable systems use an angle-and-drop or angle-and-slide motion. Keep joints clean and fully engaged rather than forcing them with a mallet.
For the next row, stagger end joints according to the carton instructions. A random-looking layout usually requires varied starter-piece lengths, but avoid using very short pieces unless the manufacturer permits them. Repeating the same offset every row can make the floor look artificial, while poorly staggered joints can weaken the visual rhythm and potentially violate installation guidance.
Use the offcut from the previous row as the next row’s starter only if it is long enough. Score the face of many LVP planks with a sharp utility knife, bend the plank along the score, and snap it cleanly. Thicker or rigid-core products may cut more cleanly with a saw. Take your time around vents, door casings, and pipes, leaving the required room for expansion wherever the floor meets a fixed object.
As each row is installed, inspect the seams from standing height and from close range. A joint that appears closed but is not fully locked can separate later. If a plank will not seat, check for debris in the groove, a damaged locking edge, or a misaligned previous row. Correcting one plank immediately is much easier than taking apart several completed rows.
Finish the Last Row Without Pinching the Floor
The final row is often the most detailed. Measure from the face of the installed row to the wall in several locations, subtract the expansion space, and transfer those measurements to the plank. Walls are rarely perfectly straight, so measure each plank instead of assuming one rip width will fit across the room.
Use a pull bar to lock the final row into place without damaging the wall-side edge. Remove all spacers once the floor is complete. The LVP should sit securely while retaining clearance around the perimeter. A floating floor needs that space to respond to normal seasonal and indoor-condition changes.
Add Trim, Transitions, and the Final Details
Reinstall shoe molding or install new trim to cover the expansion gap. Attach trim to the wall or baseboard, not through the floating floor. Install transitions where planned, following the product’s guidance for doorways and adjoining surfaces. Replace floor vents with covers that allow air to move freely and do not pin the floor in place.
Clean the finished floor with a soft broom, vacuum setting appropriate for hard floors, or a lightly damp microfiber mop. Avoid abrasive pads, waxes, steam cleaners, and harsh cleaners unless the manufacturer specifically approves them. Use felt protection beneath furniture legs, and lift heavy furniture rather than dragging it across the new surface.
For homeowners comparing options, the right product selection matters as much as installation technique. Factory Flooring Liquidators helps shoppers evaluate first-quality luxury vinyl flooring from factory closeouts, overstock, discontinued runs, and special buys - a smart opportunity to get the look and performance your project needs while protecting the overall renovation budget.
A careful first row, a flat subfloor, and a few extra minutes checking every joint will do more for your finished LVP floor than any shortcut ever will.